You can use the Swath Tool to generate a ground swath, export it as a shapefile, and then import the shapefile as an Area Target for later visualization. To accomplish this, follow these instructions:
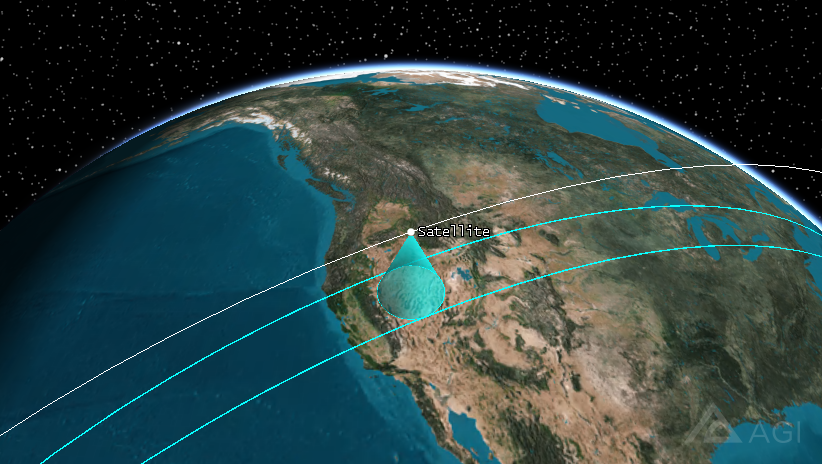
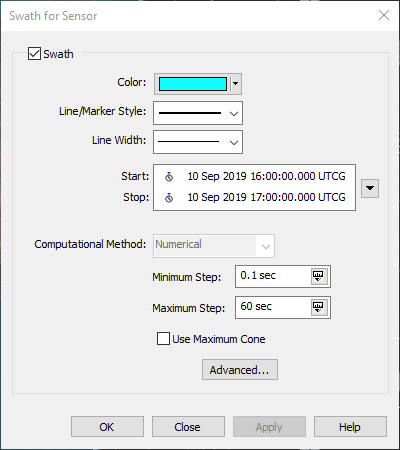
- Generate a swath: Right-click the Sensor of interest in the Object Browser and select Sensor > Swath… . This opens the Swath Tool, as shown below. Select the Swath check box. Make all necessary changes and click OK. Then you will see the swath displayed in the 3D graphics window.
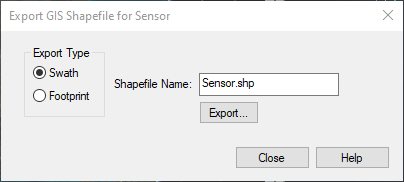
- Export as Shapefile: Right-click the Sensor in the Object Browser again and select Sensor > Export GIS Shapefile. This opens the Export GIS dialog box shown below. In it you can choose to export either the Swath or the current sensor Footprint as a shapefile. Select the Swath option, assign a name, and click Export.
- Load Shapefile as Area Target: Open the Insert STK Objects dialog box from Insert on the main toolbar. Select Area Target on the left and "From Shapefile (.shp)" as the method on the right. In the Import Shapefile as STK Object dialog box, select the ellipsis icon next to Shapefile and browse to the Shapefile you recently generated. Select the sensor name in the Shapefile Records section and then click Insert to load that Shapefile as an Area Target polygon.