STK EOIR has many built-in capabilities; however, sometimes you need something more custom. Please reference the guide below to load in your custom cloud files for your analysis.
Clouds
You can load cloud files (.cld) in STK through the 3D Globe Manager and through the EOIR Configuration Atmospheric Model.
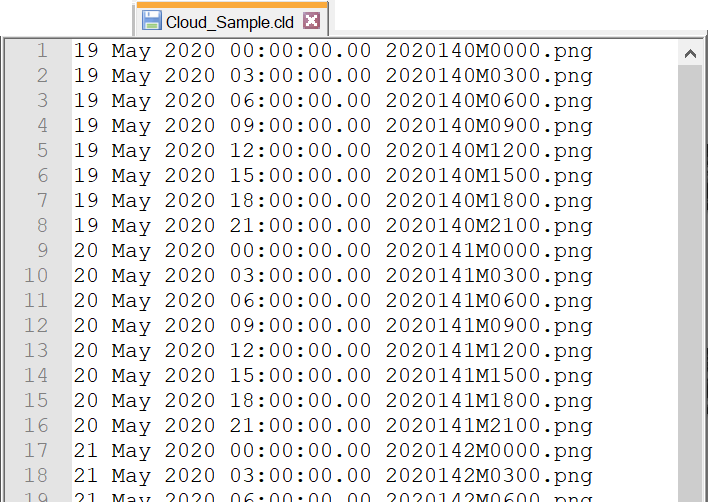
The .cld extension is shorthand for cloud. You can open this file in a text editor such as Notepad++. It contains a starting date-time and the name of the cloud map, which can be in a variety of formats (.png/.pgm/.jpg/etc.). Date-time stamps that increase stepwise (with corresponding images) will create a dynamic cloud model in the scenario.
Cloud_Sample.zip
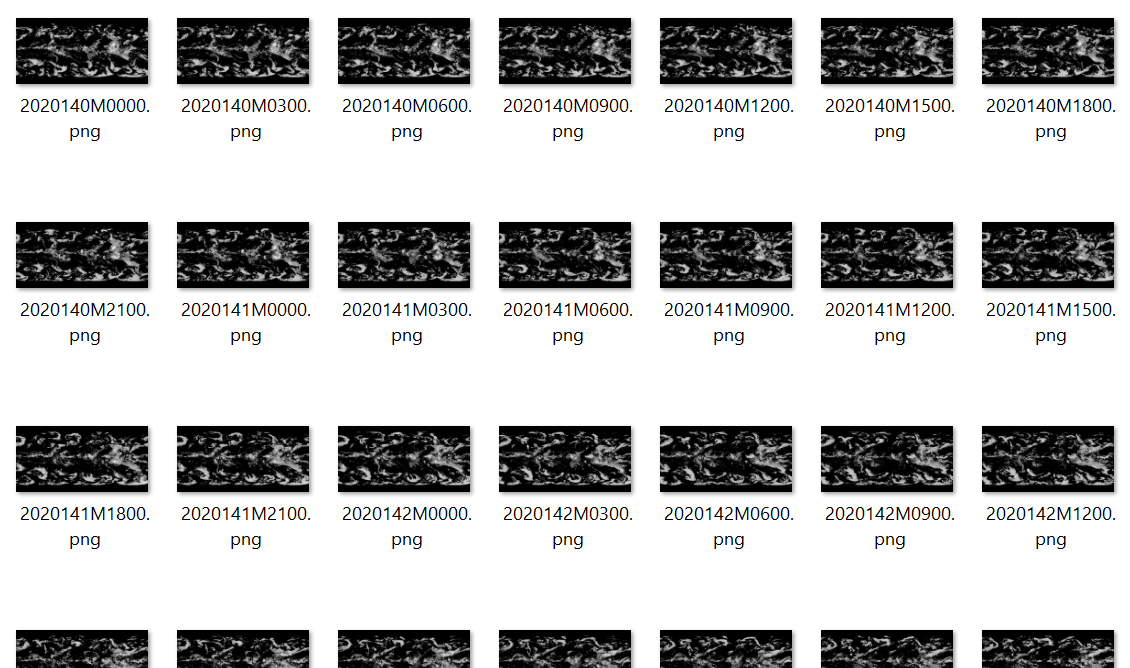
You can use and modify the attached example. It is a low-resolution cloud layer that has a new map every three hours. The starting date-time is 19 May 2020 00:00:00.00 and increases in three-hour increments until 24 May 2020 21:00:00.00. You can modify the time stamps and replace the cloud maps. Unzip the file to view all the cloud maps and the .cld file.
Cloud Maps
You can directly download cloud maps through the EOIR Configurations - Download Cloud capability, but there are also alternatives available from the web. For example, NASA Blue Marble Clouds has a high-resolution cloud map. You can download this file (.jpg) and use it in the .cld file by setting the start time and referencing the image by name. If there is only a single file, then the clouds will be static.
Load into the Globe Manager:
- Open the Globe Manager.
- Right-click Clouds.cld.
- Select the Change Clouds option.
- Navigate to and select Cloud_Sample.cld.
- Click Open.
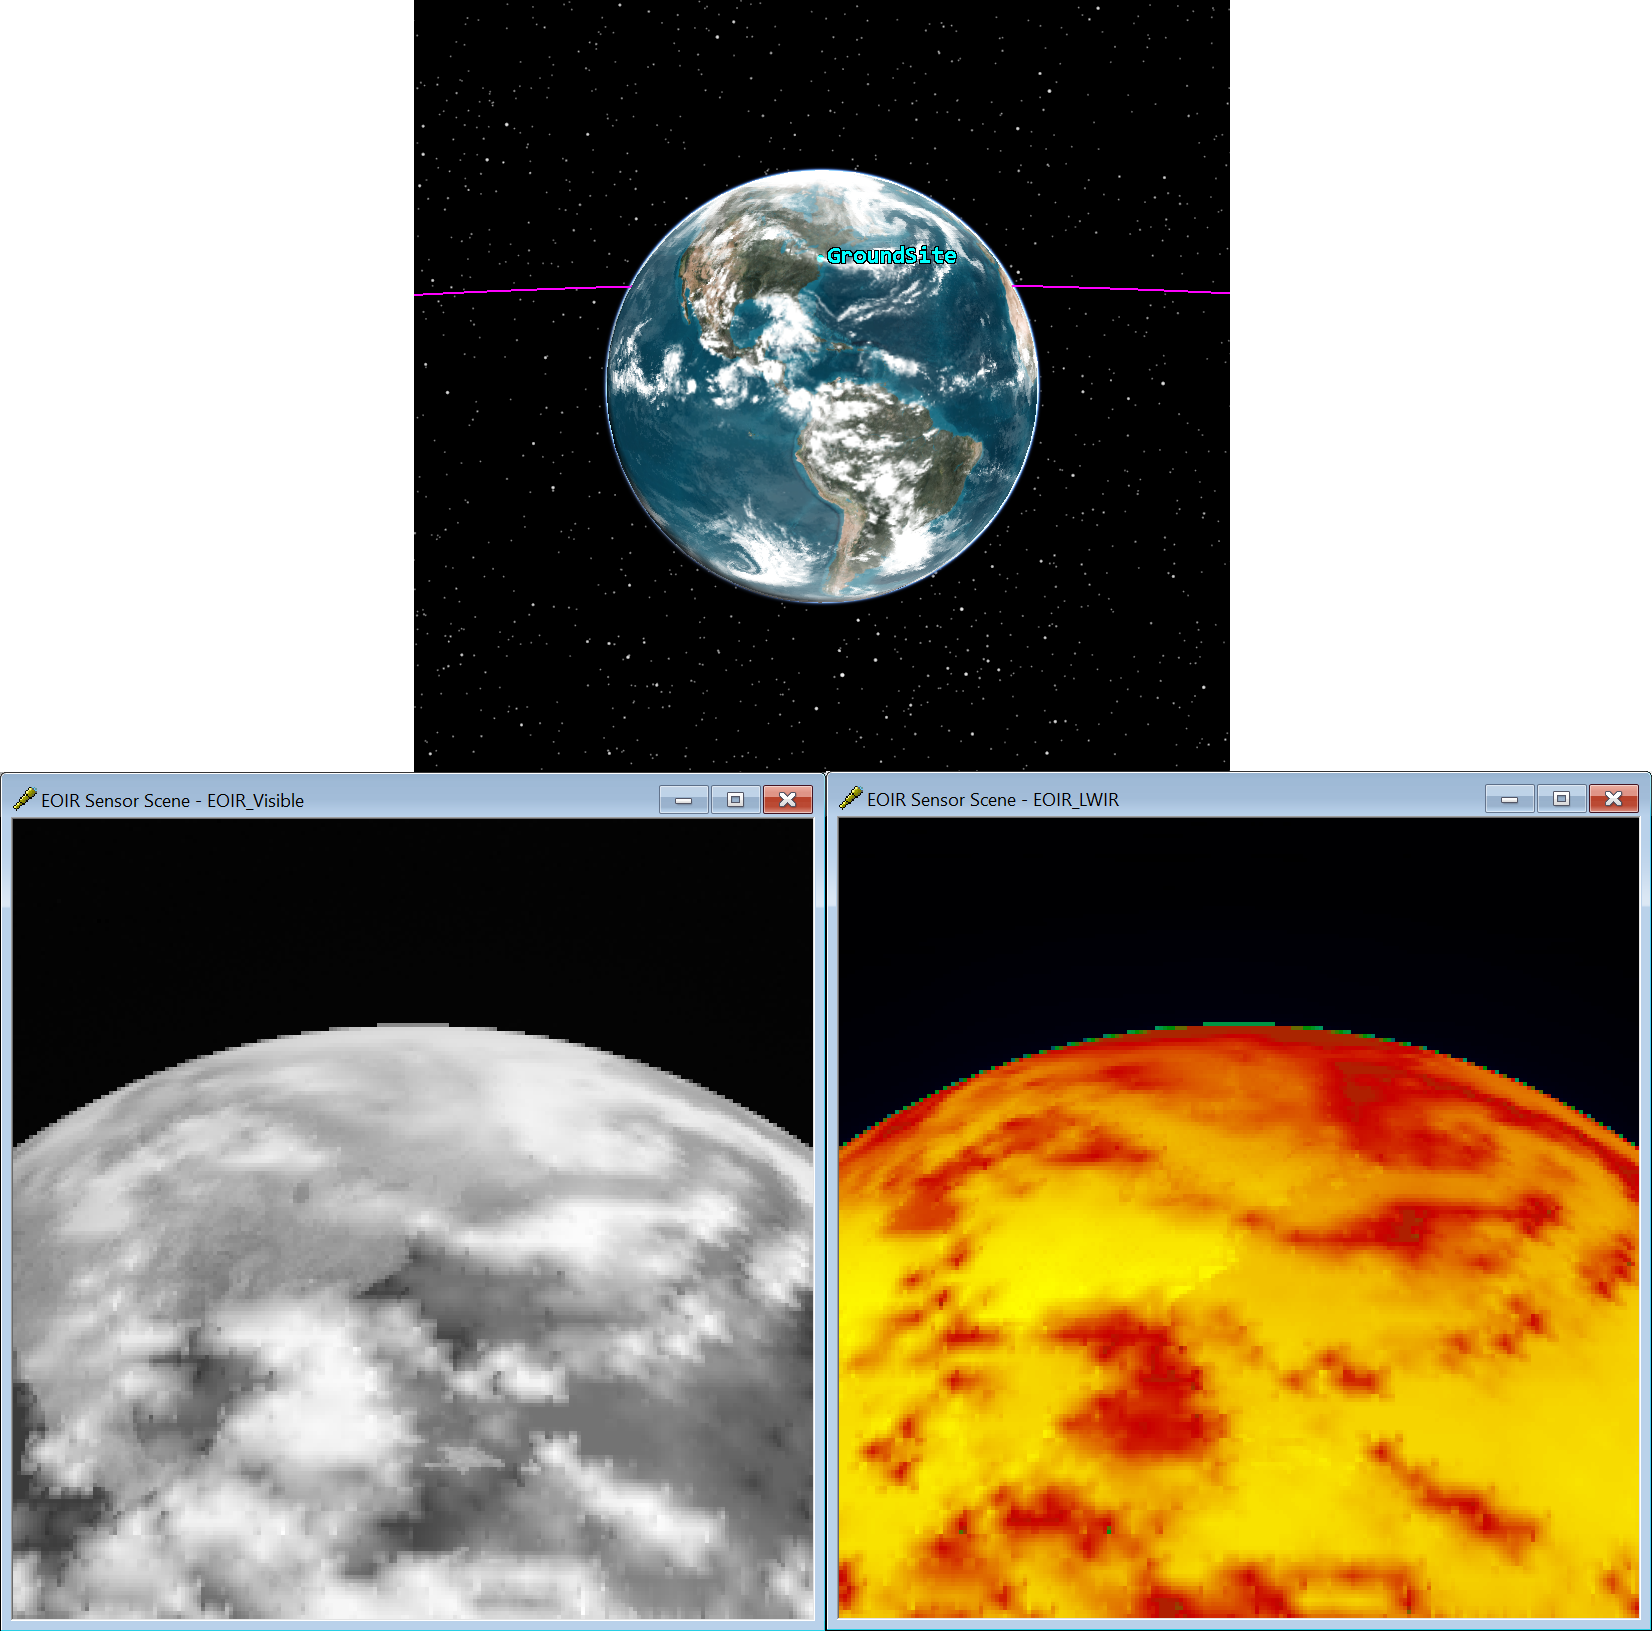
- A thin cloud layer will now be displayed in the 3D Graphics Window.
- In the Globe Manager, right-click Cloud_Sample.cld and select Properties.
- In the Globe Manager: Cloud Properties, you can adjust the cloud altitude and roundness. AGI recommends a roundness value of 5; the larger the roundness value, the smoother the cloud layer will appear.
Load into the EOIR Configurations:
- Click the EOIR Target Configuration button on the EOIR toolbar.
- Click the Atmosphere Definition... button.
- Select the Show check box for Clouds.
- Click the Add Dataset button.
- Enter Cloud_Sample in the Dataset Label.
- Set the Altitude to 50.0684 km, the default altitude in the Globe Manager.
- Set the Forward and Back Scatter to 50%.
- Set the Coverage to File.
- Click the ellipsis button and browse to and select Cloud_Sample.cld.
- Click OK.
- Keep the default Radiance or Emissivity/Temperature set to Constant Emissivity and Temperature default values.
- Click OK in the EOIR Atmosphere Model.
- Click OK in the EOIR Configuration window.
- Now you have clouds that your EOIR sensor can see.
Interested in more clouds? We have a tutorial for you called
EOIR Weather Observations.
Want to load in more data? Check our FAQ article on
How to Use Texture Maps in EOIR .
Want to see cloud modeling in action? Check our FAQ article on
EOIR Cloud Modeling Demo .

