In the following example, you will learn how to take parts of an ordinary model with a flat color and make them look metallic, without adding a texture map. The color in this example is gold, but the same technique will also allow you to create, silver, copper or any other metallic surface.
This is a primary article. Feel free to skip any portion with which you are already familiar.
1. If you have not already done so, we recommend adding a shortcut for the Modeler (MDE) tool to your desktop for ease of use. This tool allows you to load and view your model file so that you can quickly see it and see any changes you are making to it. Follow these steps to add this shortcut:
- Navigate to C:\ProgramData\Microsoft\Windows\Start Menu\Programs\STK 12
- You may need to go to the View tab in File Explorer and enable "Hidden Items" to see ProgramData
- Right click on the Modeler 12 icon and select Create Shortcut.
- In the dialog box, click YES to create a Modeler 12 icon on your desktop.
- Rename the icon on your desktop to MDE
- You can now drag and drop a model file on to this icon to view your model.
2. Copy and paste the following text into a text editor (Notepad, Wordpad, Textpad etc.) to create a model file. Your text editor should format the text so that it looks the same in the editor as it does below.
Component FuelSphere
Revolve
FaceColor %127088027
# Specularity 0.8
# Shininess 17
StartAngle 0
EndAngle 360
NumRevolve 32
NumVerts 11
Data
30.000000 0 0
28.531695 9.270510 0.0
24.270510 17.633558 0.0
17.633558 24.270510 0
9.270510 28.531695 0
0.000000 30.000000 0
-9.270510 28.531695 0
-17.633558 24.270510 0
-24.270510 17.633558 0
-28.531695 9.270510 0.0
-30.000000 0 0
EndRevolve
EndComponent
Component Sphere
Root
Refer
Component FuelSphere
EndRefer
EndComponent
3. Save the text file with a file extension of .mdl. If your text editor does not allow you to do this, save the file first and then then change the extension in Windows File Explorer. The file you have just saved is a complete, working model.
4. Drag and drop the file you have just saved, onto the MDE icon on your desktop. If you did not save Modeler to your desktop, please open the tool and load the model file by going to File -> Open Model.
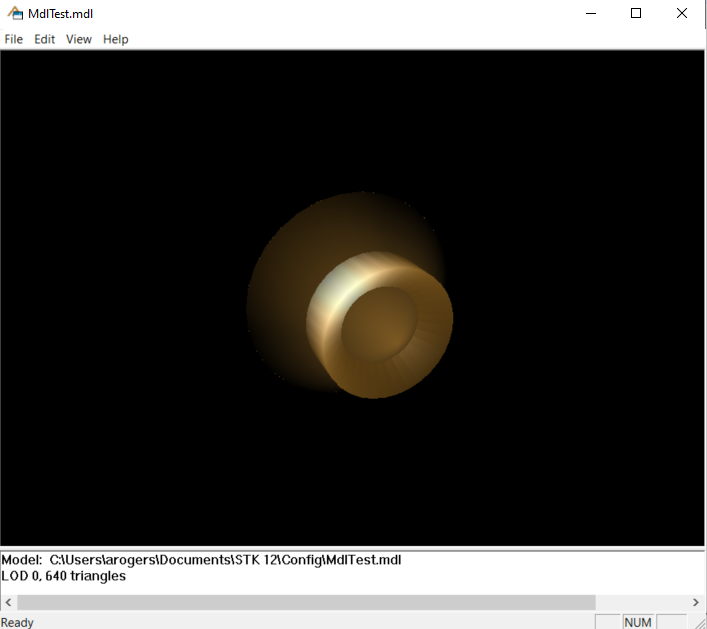
5. Zoom to the point where the models is about the size of a quarter. To zoom in or out on your model, you may need to click and drag up or down with the right mouse button. To rotate your model, drag with the left mouse button.
What you should see is roughly the shape of a sphere. It is a flat, mustard color defined exclusively by the line FaceColor %127088027 (RRRGGGBBB) in the .mdl file you created in Step 2. We’re going to keep the color, but change how it looks.

Specularity is a measure of how reflective a surface is. In MDL, that range is 0 to 1. When specularity is set to 1, that surface is 100% reflective. Shininess is a measure of how diffuse, or wide spread, your specularity is. In MDL the range is 1 to 128, where 128 is the smallest possible spot and 1 is the widest. Values outside this range will be set to 0, making the lit portion of the surface a uniform white. Don’t do that.
You may have noticed two lines in your model file that begin with #. These are comment markers causing the line that follows to be ignored. You are now going to add these two lines to your model by removing the comment markers.
6. Open your .mdl file in your text editor. Go to the lines
# Specularity 0.8
# Shininess 17
and remove the # so they look like:
Specularity 0.8
Shininess 17
7. Save your file and reload the model into the model viewer. The specularity of the FuelSphere component is now 0.8, and its shininess is 17.
You will now see that the dull mustard color just turned to gold. The metallic nature of the surface is controlled by the Specularity and Shininess settings. The base color is controlled by the FaceColor setting where the range for each color (RRRGGGBBB) is 0 to 255.
Feel free to experiment with these setting and check out other MDL Knowledge Articles for additional tips and tricks.

