NOTE: There are two attachments with this article.
You can add rings to Saturn in STK using a model file for enhanced visualization. One of the attachments below is called SaturnsRingsColor.mdl, and the other is called SatrunRingColo.ppm. You can save these files anywhere on your computer, but you need to save them in the same location. After you download and save the files, follow these steps to add Saturn's rings to a new STK scenario.
To learn more about changing central bodies for your scenario, please check out the
Tech Tip: Changing Central Bodies.
Create a new scenario and set the view to Saturn
- Create a new scenario in STK using the default analysis time period.
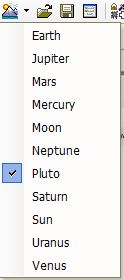
- Extend the View menu and select Planetary Options. When you select this option, you will see the scenario button change to a shortcut menu.
- Select Saturn from the Scenario shortcut menu.
Add a facility to Saturn
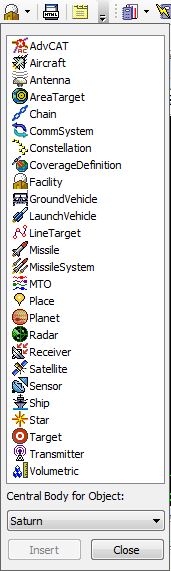
- Under the Insert menu is the Insert Default Object toolbar icon. Click the shortcut arrow.
- Select Facility as the object and select Saturn in the Central Body (at the bottom).
- Click the Insert button.
Set the facility's properties
Move the facility to the north pole of Saturn and then change the model to be the rings model attached to this article.
- Open the facility's (
 ) properties (
 ).
). - Select the Basic - Position page.
- Clear the "Use terrain data" check box.
- Set the following values:
• Latitude: 90 deg
• Longitude: 0 deg
• Altitude: 0 km
- Go to the 3D Graphics - Model page.
- Under Model, click the ellipsis for Model File.
- Browse to the location of the saved SaturnRingsColor.mdl file and select it.
- Set the Log scale to 5.995.
- Click the Apply button at the bottom but leave the Facility Properties window open.
Disable the Label and Marker for the facility
You don't need the facility label or marker, so disable them.
- Go to the 2D Graphics - Attributes page.
- Clear the Inherit from Scenario check box.
- Clear the Show Label check box.
- Go to the 3D Graphics - Model page.
- In the Marker field, clear the Show check box.
- In the Detail Thresholds field, set all the sliders to their maximum values.
- Click OK to apply the changes and close the properties window.
You should now be able to see the rings around Saturn in the 3D Graphics window.
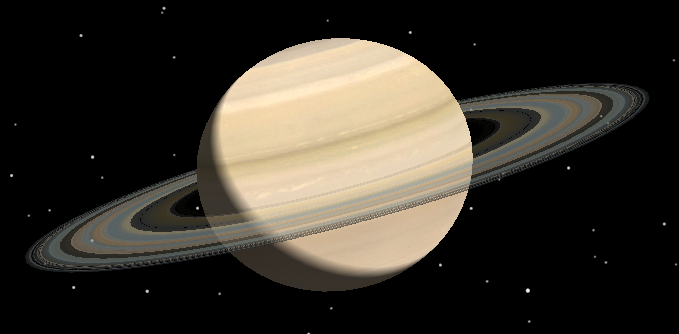 Completed Scenario with Rings (and Moons)