Whether you are making high-resolution visual products (videos and images) with STK, or you need to increase the fidelity of your analysis for an EOIR sensor, you may need to adjust the density of the star field background in STK.
There is an easy and straightforward method to do this in the software.
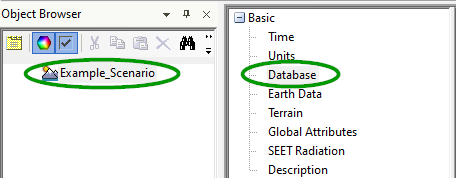
After creating or opening your scenario, open your scenario's properties and go to the Basic>Database panel.
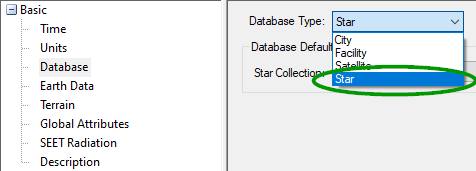
From the Database Type drop-down box, select
Star.
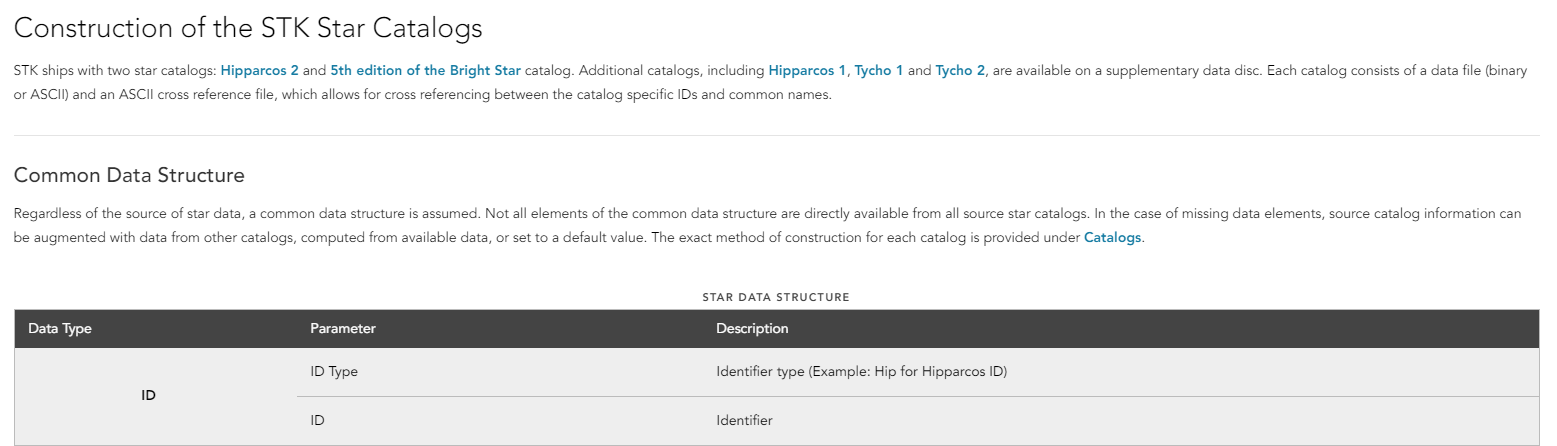
By default, STK has two catalogs are available (Hipparcos 2 and Bright Star v5), both with Mag 6 and Mag 8 variants. These two catalogs vary in specific ways, as described in detail in the STK Help topic
Construction of the STK Star Catalogs.
The Mag 6 and Mag 8 portion of the collection name is an indicator that STK is, by default, only displaying stars from one of those catalogs with a visual magnitude greater than or equal to 6 or 8, respectively. Think of the visual magnitude scale as a scale of "faintness." The greater the number, the more faint is the star and the lower is its visual magnitude.
You can specify how "faint" of a star from the catalog you want STK to display by adjusting the collection constraints and creating a new catalog file.
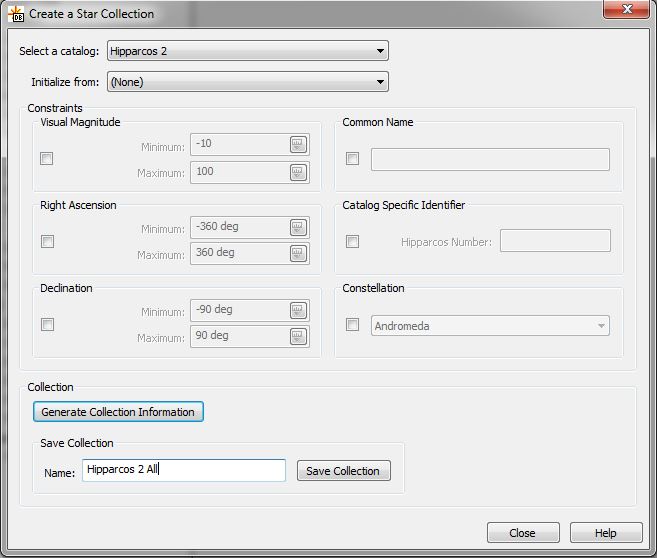
- Next to the Star Collection dropdown menu, click the Create button. This opens the Create a Star Collection dialog box.
- At the top, select a reference catalog.
- Set "Initialize from:" to (None).
Setting this field to (None) removes all constraints from the catalog. This is ideal if you want to increase the star background to the maximum.
- In the Save Collection area, in the Name field, give this adjusted star collection an identifying name like "Hipparcos 2 All" or "Bright Star v5 All".
- Click Save Collection.
You have now saved a new star collection file in the [STK scenario path]\Collections folder.
If you don't want to display all the stars in a given catalog, go to the Constraint area and select the Visual Magnitude (or any other constraint) check box. This will filter the catalog to a subset, to create your own specific collection. Give this new collection a name and save it.
To select any of the collections you've created for use visually:
- Go to the properties for your 3D Graphics window and select the Celestial page.
- Select your newly created Collection from the Collection Name box.
- Click Apply.
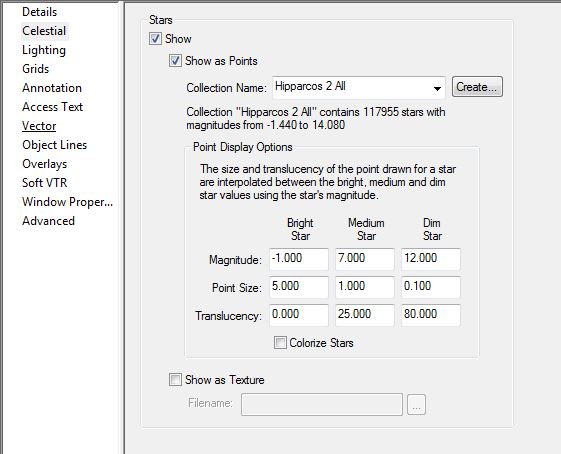
Your background star field is now populated by the specific collection of stars you selected from the STK star databases.
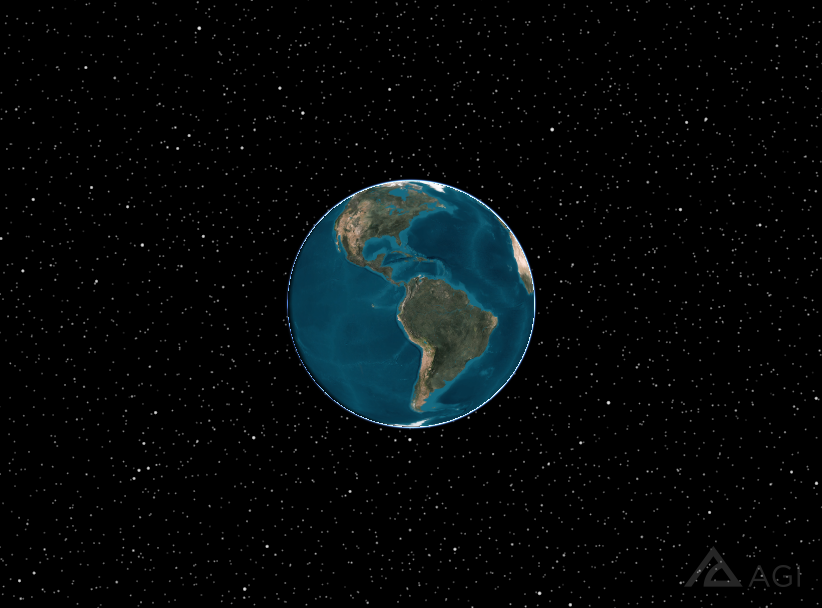
Before (Hipparcos 2 Mag 6):
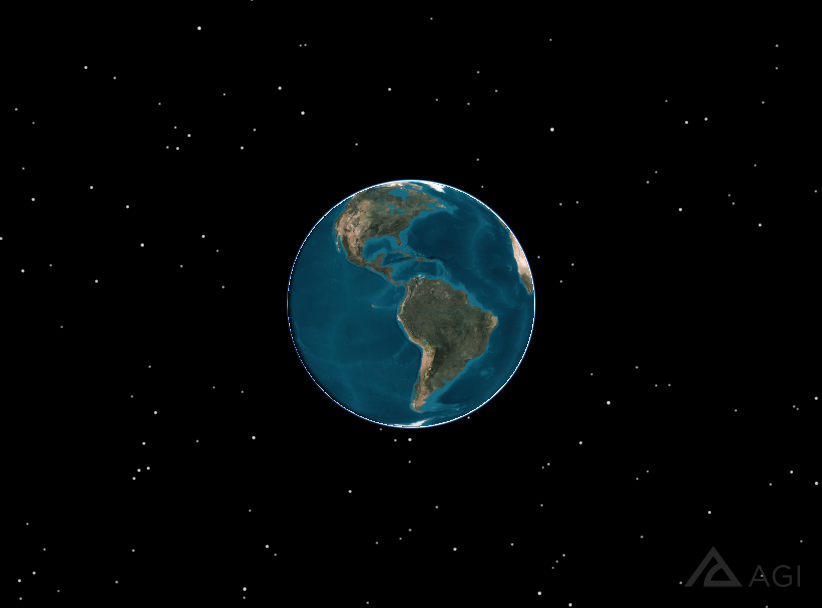
After (Hipparcos 2 All):