You may wish to change the texture (image) that's wrapped around the globe in the 3D Graphics window, the image seen in the 2D Graphics window, or both. The globe could be any planet or moon that is available to use as a central body in STK. The following process outlines how to quickly change the texture of a globe as well as how to change the 2D graphics pixmap image.
The image MUST have a 2:1 ratio, otherwise it will not appear correctly when wrapped around a sphere. Additionally, when changing the pixmap image in the 2D Graphics window, the image must be a bitmap (*.bmp) file. This isn't necessary for the texture image, since we will convert it anyway.
Modifying the texture image on a 3D globe (*.glb) file
The following example uses Pluto. Below is the stock globe file that STK uses.
In order to change the texture image of an existing GLB file, you simply need to change the texture image it references. Go to C:\Program Files\AGI\STK 12\STKData\VO\Globes, click the relevant globe folder, and open the GLB file of interest in Word or a text editor. The file references a <central body>.wtm file.
The WTM file is in C:\Program Files\AGI\STK 12\STKData\VO\Textures. Open this file in Word or a text editor and see that it references a <central body>.jp2 file.

JP2, also known as JPEG 2000, is a non-proprietary image format that STK uses in its graphics windows. The next step is to convert the new texture image into this JP2 file format. You can quickly accomplish this using the Imagery and Terrain Converter from within STK. Open STK, select Utilities from the main toolbar, and click "Imagery and Terrain Converter."
At the top of this dialog box, click the ellipsis next to Image Filename and browse to the relevant texture image. Next, set the Image Extent - Image bounds to -90 deg South, -180 deg West, 90 deg North, and 180 deg East. Under Output Data, make sure the format is set to JPEG 2000 Image (jp2). Click the ellipsis next to Directory and browse to a folder to save the new image. Once the settings are correct, click the Convert button at the bottom.
Get the texture to appear in the 3D Graphics window using one of these two ways:
1. You now need to swap the new JP2 file into the same location as the existing file. The go to C:\Program Files\AGI\STK 12\STKData\VO\Textures. Find the existing JP2 file and rename it to some different extension (e.g., <central body>.jp2old). This will require administrative privileges. Now, copy in the new JP2 file and make sure it has the exact same name that the original file had (in this case, Pluto.jp2); this is to preserve the reference in the WTM and GLB files.
2. You can change the base of the current globe in the 3D Graphics window. Browse to the Globe Manager in the 3D Graphics window. Right-click the globe that needs the texture and select the Change Base... option. When the "Globe Manager: Pick Base Texture" dialog box appears, click the ellipsis next to Path. Browse to the destination where the new JP2 file is saved and click OK. The new JP2 file will appear in the window below. Select the check box next to it and click Add.
Next time you open STK, you should see your central body with its new texture image!
Modifying the 2D pixmap image
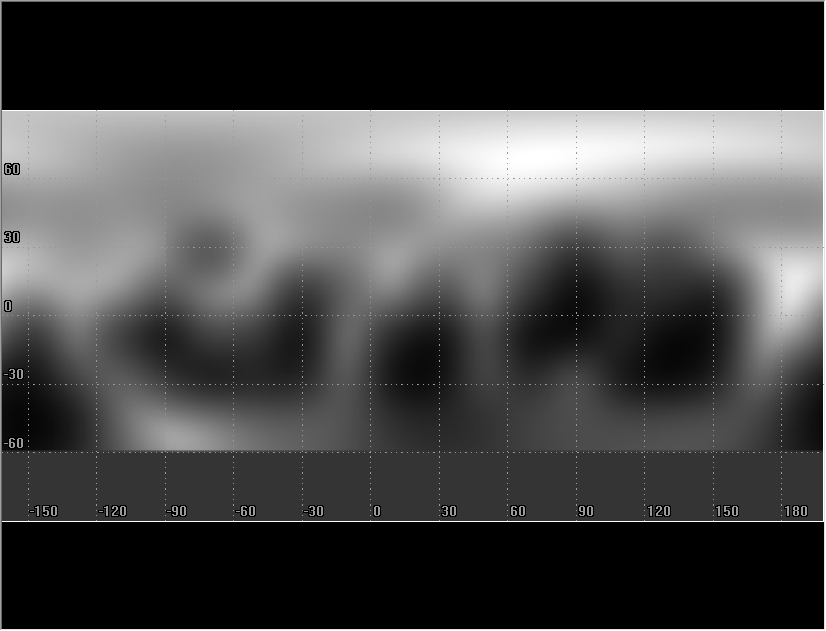
Once again, you can use Pluto as an example. Below is the stock pixmap image that STK uses.
This time go to C:\Program Files\AGI\STK 12\STKData\CentralBodies\Pluto\Pixmaps directory. Here, you can see the existing BMP file that STK is using. To change to your new BMP file, simply rename the existing file with a different extension (e.g., Pluto.bmpold). This again will require admin privileges. Then, copy in your new BMP file and make sure it has the exact same name that the original file had (in this case, Pluto.bmp).
Next time you open STK, you'll see your new pixmap image in the 2D Graphics window!


