Create a JP2 or .pdttx file from a Coverage Definition result:
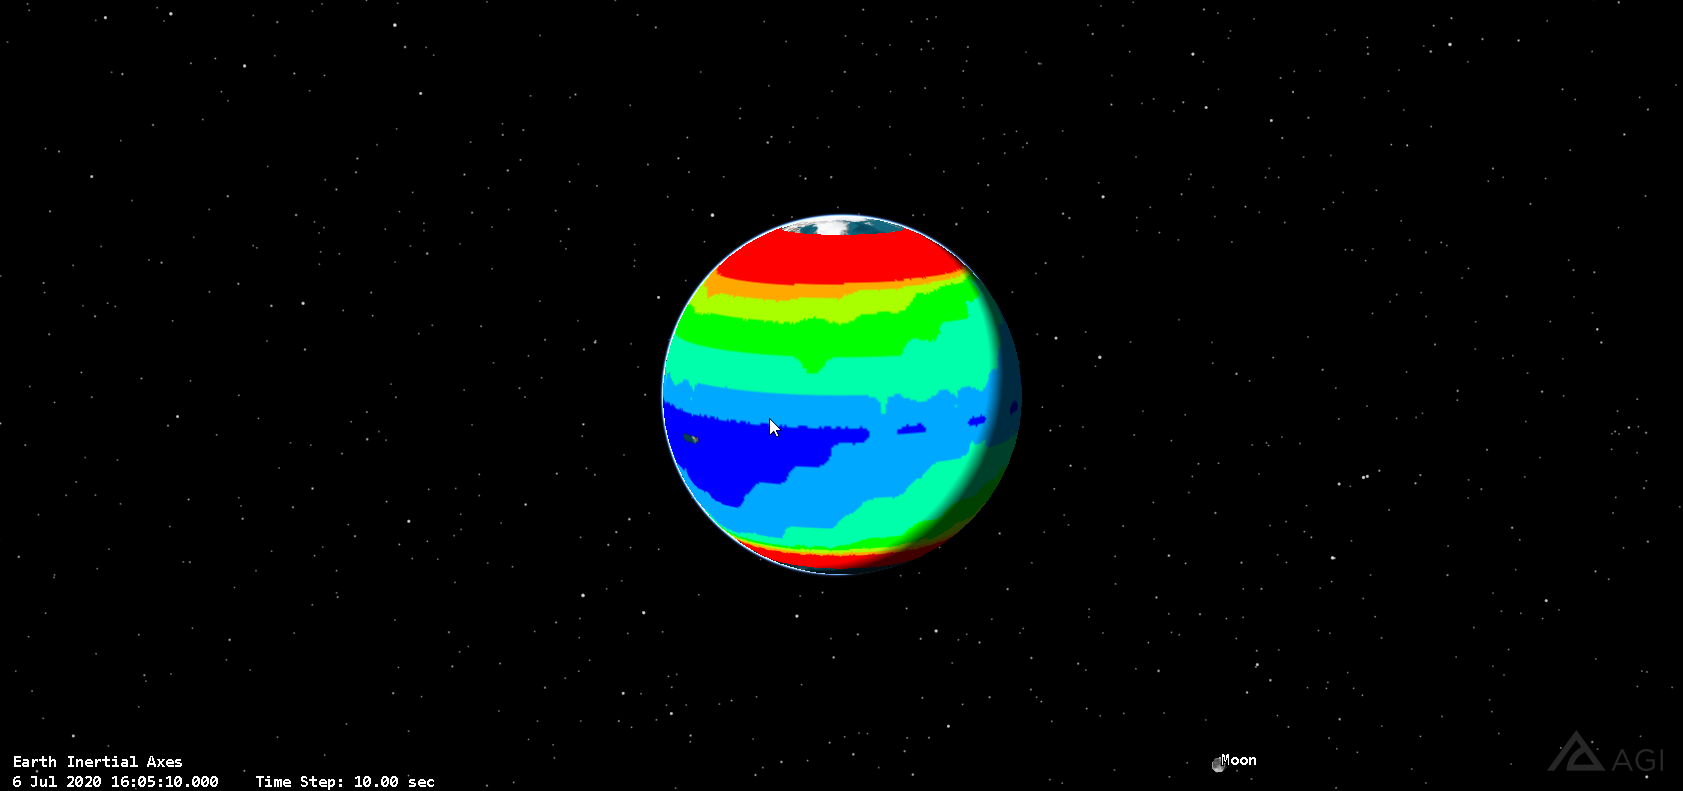
The image below shows a JP2 that was created from a Coverage Definition object. This Definition was created, analyzed, and the results were displayed on the 3D Graphics window. Now this user can take their Coverage Definition, save it to a JP2 or .pdttx file, and send it to STK Free users for use by importing the image into the Globe Manager.
STK allows for this by using a simple Connect Command called the ExportSmoothContours Connect Command.
The example line that is provided in the STK Help article is as follows:
To export the static contour graphics for the FigureOfMerit1 as a jp2 texture:
Graphics */CoverageDefinition/CoverageDefinition1/FigureOfMerit/FigureOfMerit1 ExportSmoothContours Directory "C:\Users\Desktop" Filename "CoverageTest" ContourType Static OutputFiletype jp2
When using this Connect Command, the Figure of Merit (FoM) being used must be configured to "Show Static Graphics" (FoM Properties -> 2D Graphics -> Static). Additionally, the Static graphics must utilize the Natural Neighbor Contour Interpolation (FoM Properties -> 2D Graphics -> Static). Running the ExportSmoothContours Connect Command with these options selected will result in the exporting of the Static coverage visualization being exported to a JP2 or .pdttx file for use by any version of STK via the Globe Manager, or simply by dragging the exported file into an instance of STK.
If you instead have Block Contours you'd like to export (FoM graphics that do not utilize the Natural Neighbor option), the same process outlined above can be completed using the ExportBlockContours Connect Command.

