| Solution | The following is a guide to bringing GIS shapefiles into STK as map details that you can then toggle on and off. You only need to do these steps once, and then you can continually use them as an added resource for every new scenario you build. In this example, I bring in TIGER/Line shapefiles from the 2019 U.S. Census Bureaus' Master Address File/Topologically Integrated Geographic Encoding and Referencing (MAF/TIGER) Database (MTDB), which is publicly available data. However, you can use any GIS data or shapefiles you have.
Step 1: Gather Data
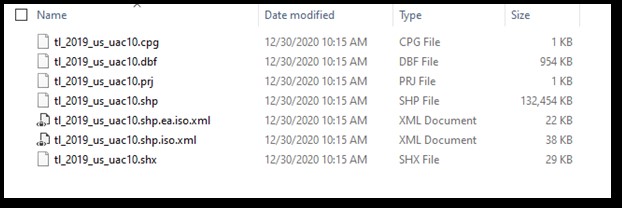
A shapefile (*.shp) is the only accepted format that Map Details reads.
Using publicly available data, I found U.S. population density data in the form of shapefiles from the U.S. Census Bureau, Department of Commerce. After downloading the shapefile ZIP, I saw these contents.
Step 2: Add Shapefile to Program Files>STKData
Begin with STK closed. Open File Explorer and browse to your STK program install folder within your C: Drive, typically This PC > Windows (C:) > Program Files > AGI > STK 12.
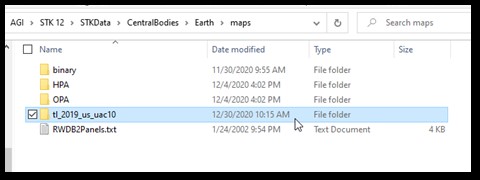
Then open the folder labeled STKData and browse to the following directory: STKData > Central Bodies > Earth > maps.
Drag the original shapefiles folder with contents (*.shp) into the maps folder.
Step 3: Open STK
Close File Explorer and open STK.
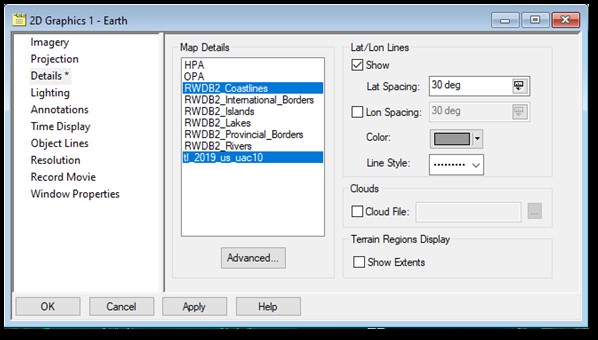
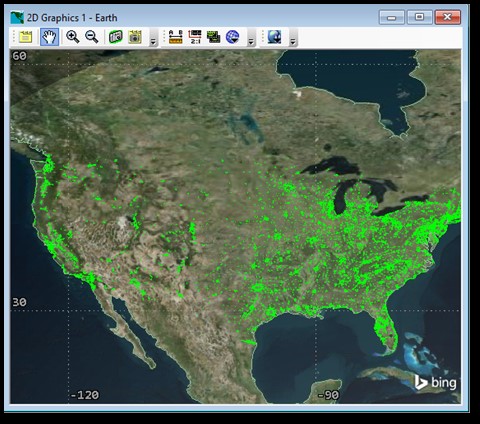
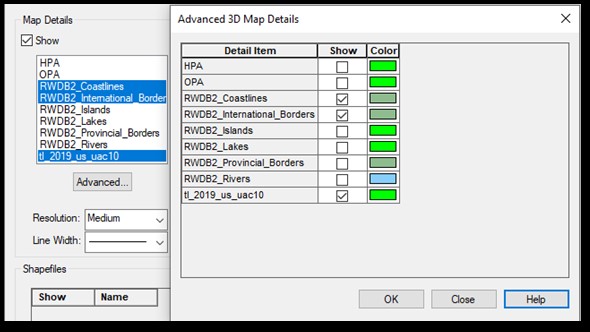
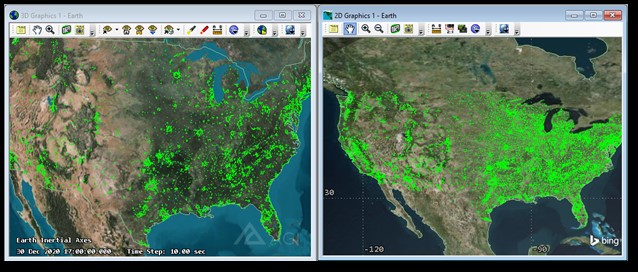
In STK, open the properties page of your 2D or 3D Graphics Window. On the Details tab, locate Map Details. Select the "Show" check box, and from the available list you will see the shapefile you just added. Now, just like coastlines and country borders, you can toggle your shapefile on and off in every scenario you create!
  |
|
|---|

